
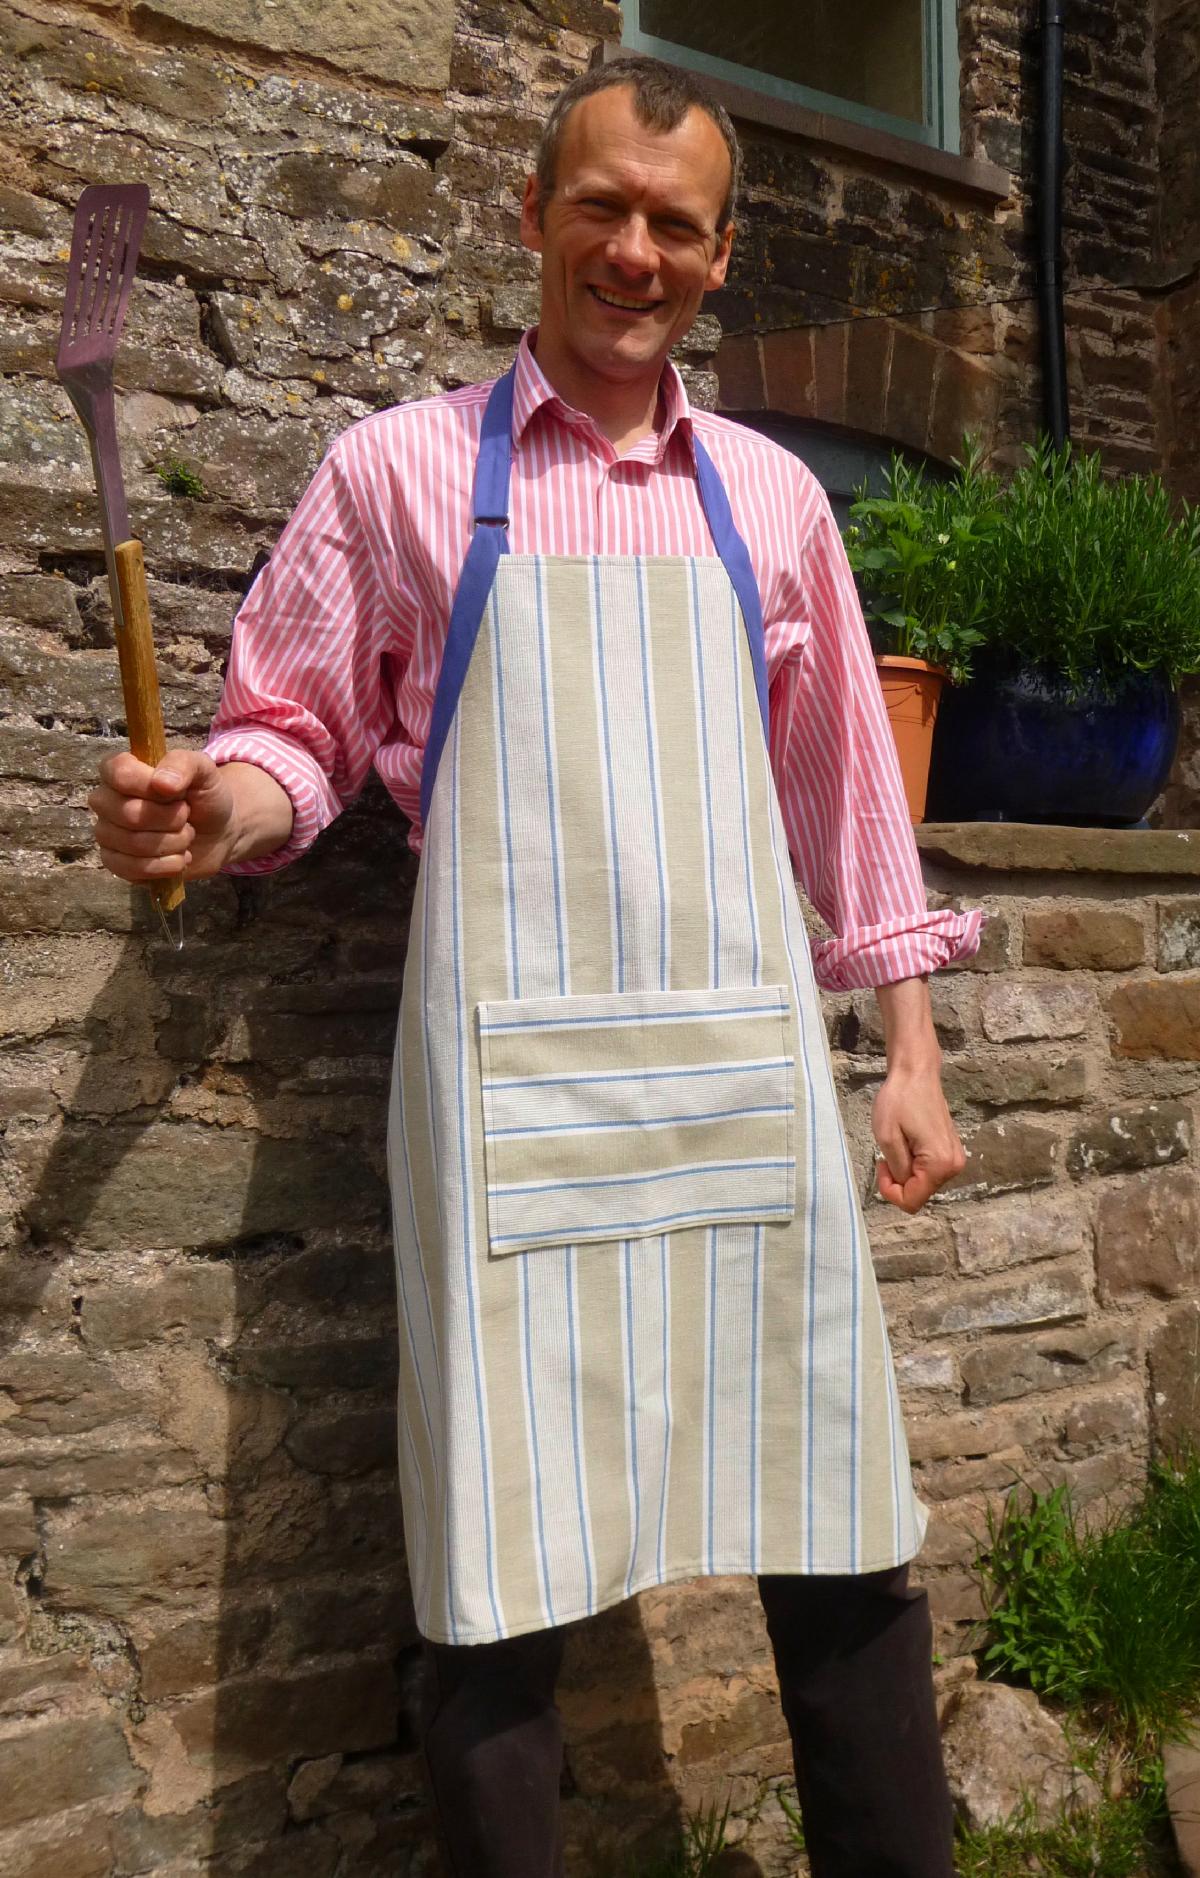


Why not try making this Chef’s apron for the BBQ King in your household in a sizzling summer striped fabric?! As the chef’s apron has to protect against splashes and stains you will need to choose a robust washable fabric such as this cotton stripe from Fabric Mills. Or, if the chef likes to make a mess, why not make the apron in wipe clean oilcloth?!
You will need:
1 metre of robust washable fabric
A 70cm contrasting fabric for bias binding
Pair of metal D-loops to fit a 2.5 cm wide neck strap
Matching sewing thread
Step 1 - Cut out the fabric
Fold an apron in half and trace round it onto paper. As this is a man’s apron you will need to make sure that the overall length from top to bottom is at least 93cm. The top of the pocket should sit 37cm from the finished top edge. The width of the folded apron from the centre to the bottom armhole edge should be approx. 37cm wide (full width 74cm). The folded width of the top edge should be 14cm. To cut the apron piece fold the fabric in half, with the strips running vertically.
Cut a pocket 30 x 27cm with the stripes running parallel to the longest edge.
For the binding, cut enough 9cm wide strips on the bias to make a continuous bias binding at least 350cm long
Please note the measurements shown in the photo are finished lengths. You will need to add a 2cm allowance for seams. You may want to adjust the final size to suit.
Step 2 - Prepare the pocket
On the pocket piece, turn 1cm to the wrong side along the bottom and side edges, press with an iron.
Pin then tack the hems in place. (For a neater look, mitre the corners).
Turn under 2cm along the top edge to create a neat ‘double hem’, press and pin then stitch close to the fold. Then turn over 2cm again and press.
Step 3 - Hem the apron edges
Turn under 1cm twice along the top, press and stitch close to the first fold. Repeat along the sides and bottom of the apron. Leave the armhole edges raw as these will be bound by the bias binding. Again, you can mitre the corners for a neater look.
Step 4 - Sew on the pocket
Position the pocket right side up on the front of the apron. Topstitch the pocket to the apron along three sides, 3mm from the edge. Remove the tacking and press.
Step 5 - Prepare the binding
Stitch the 9cm wide bias-cut strips together end to end to make one continuous strip of binding at least 350cm long. The seams should be stitched on the diagonal.
Fold the strip in half lengthways with the wrong sides together and press. Then open the strip out and fold 2 cm towards the centre along each long edge and press. Now refold it along the centre and press again for a 2.5cm folded binding width.
Cut the strip into two lengths with square ends; one 187cm long and one 142cm long. Turn 1cm in to the inside on the short end of each strip and pin hem in place.
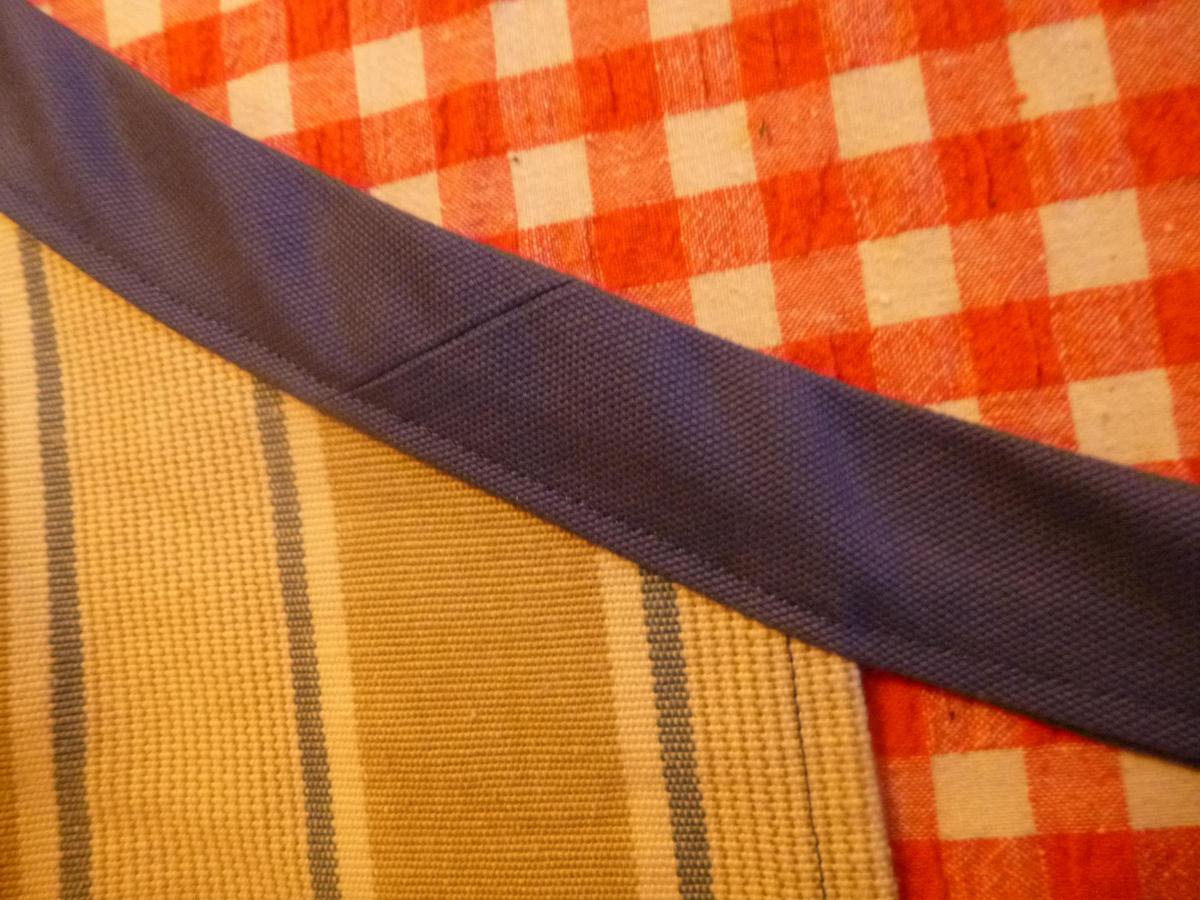
Step 6 - Stitch the binding
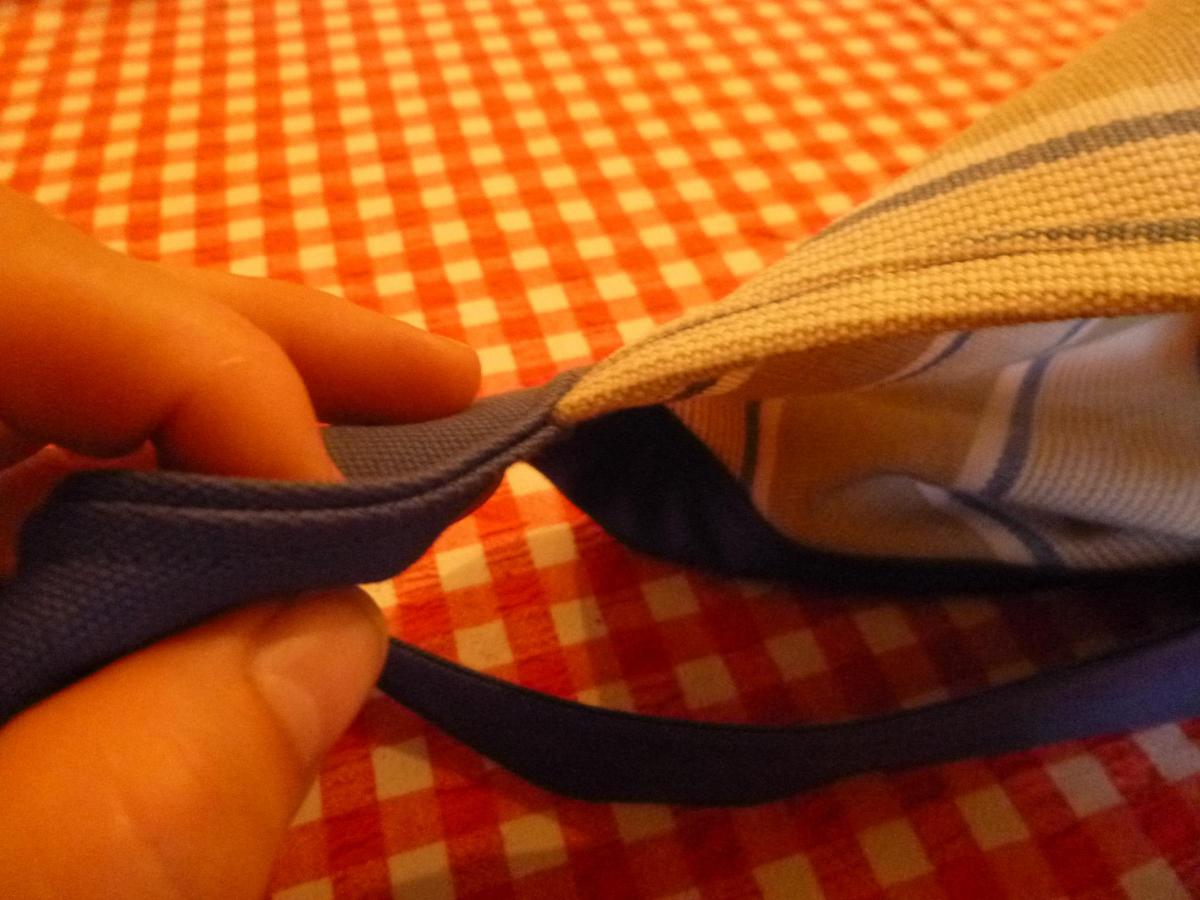
With the apron right side up, leave 85cm of binding free at the bottom for the waist tie, then pin the longest binding strip evenly along the right hand armhole with the apron sandwiched inside the binding. You should have about 65cm at the top for the neck tie.
Pin the shorter strip onto the left armhole again leaving 85cm free for the waist tie. This should leave about 20cm free for the neck tie.
Tack the entire length of each strip together along the folds, catching the apron where the strips are pinned to the apron. Topstitch the binding 3mm from the edge including along the waist tie, armhole, neck tie and turned over short ends. Remove the tacking and press.
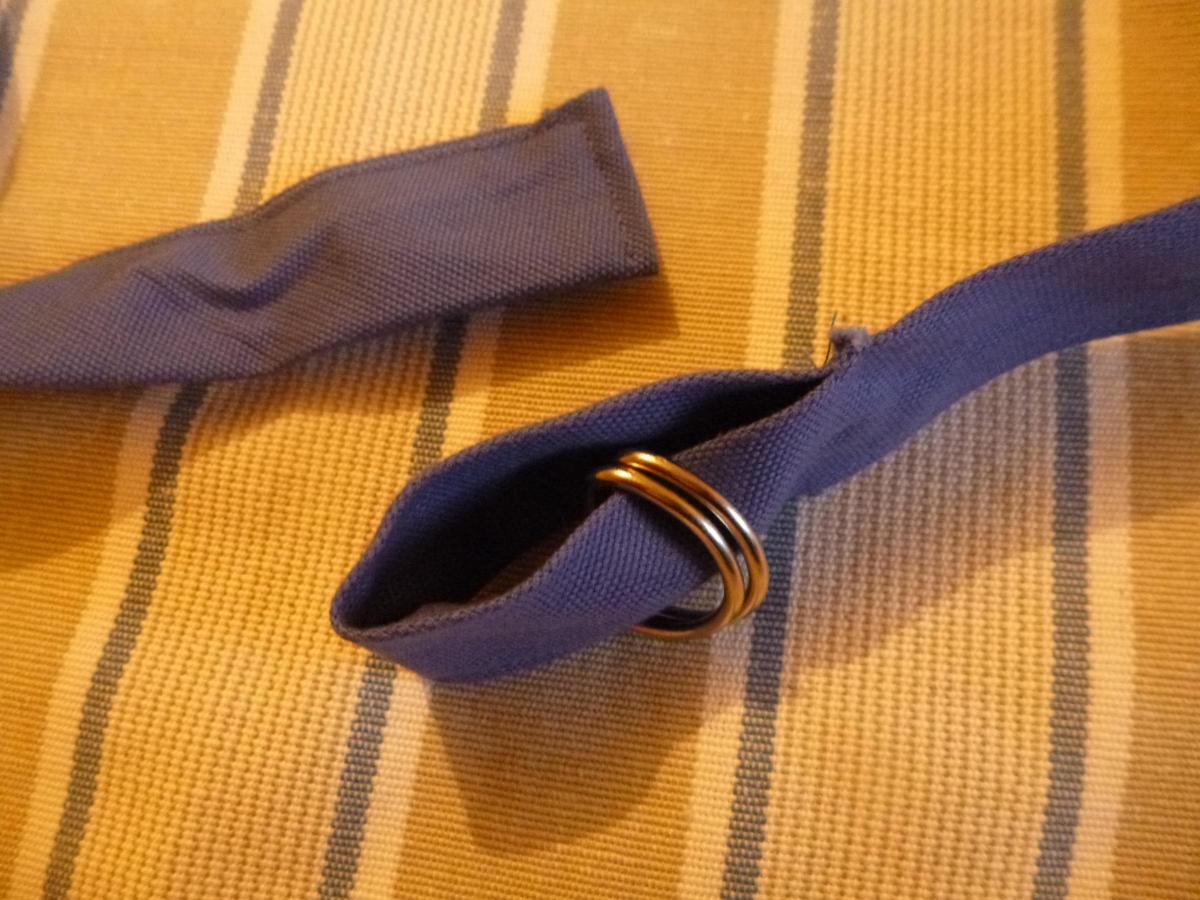
Step 7 - Sew on the D-Loops
Thread a pair of D-Loops onto the end of the longest neck strap, fold 7cm of the strap to the wrong side and stitch the last 2cm in place.
Top Tip
Use a zip foot when top stitching the bias binding. This makes it easier to see exactly where you are going helping to keep an even line of stitching really close to the edge.
Fabric Mills Ltd, 120 – 122 Monnow Street, Monmouth NP25 3EQ 01600 775531 sales@fabricmills.co.uk www.fabricmills.co.uk


Comments: Our rules
We want our comments to be a lively and valuable part of our community - a place where readers can debate and engage with the most important local issues. The ability to comment on our stories is a privilege, not a right, however, and that privilege may be withdrawn if it is abused or misused.
Please report any comments that break our rules.
Read the rules hereLast Updated:
Report this comment Cancel