

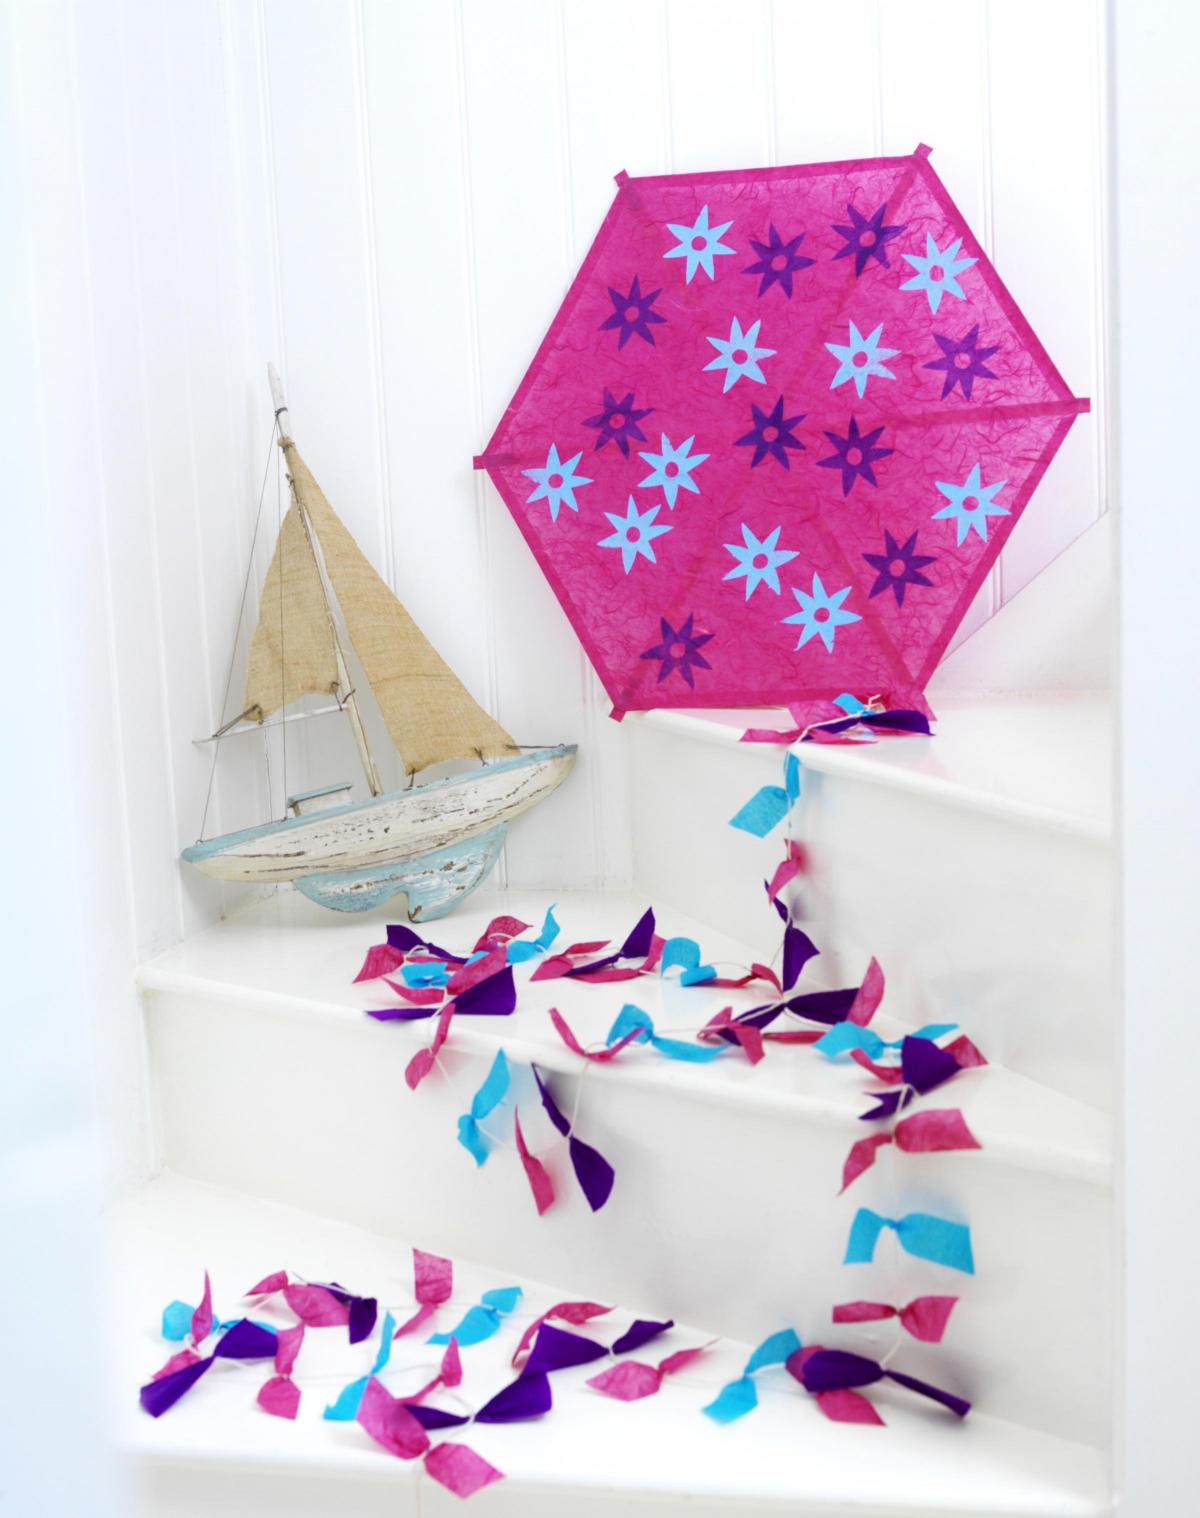


Follow our step-by-step guide to creating a kite perfect or summer fun courtesy of toolmakers Dremel:
Materials required :
Dremel 300 Series
Dremel Versatip with hot blower head
Dremel Glue Gun 930 with 7mm clear glue sticks
Dremel Multi-Chuck 4486
Dremel Precision Drill Bit Set 628
SpeedClic Mandrel SC402
SpeedClic Wood Cutting Wheel SC544
SpeedClic Abrasive Buffs, Fine 511S, 512S
Basswood strip, 2mms x 1.3cms to make the frame
Mulberry paper for the frame covering
Mulberry and crepe paper for the tail bows
Fine parcel string
Stamp, embossing pad and embossing powder
Small plastic ring
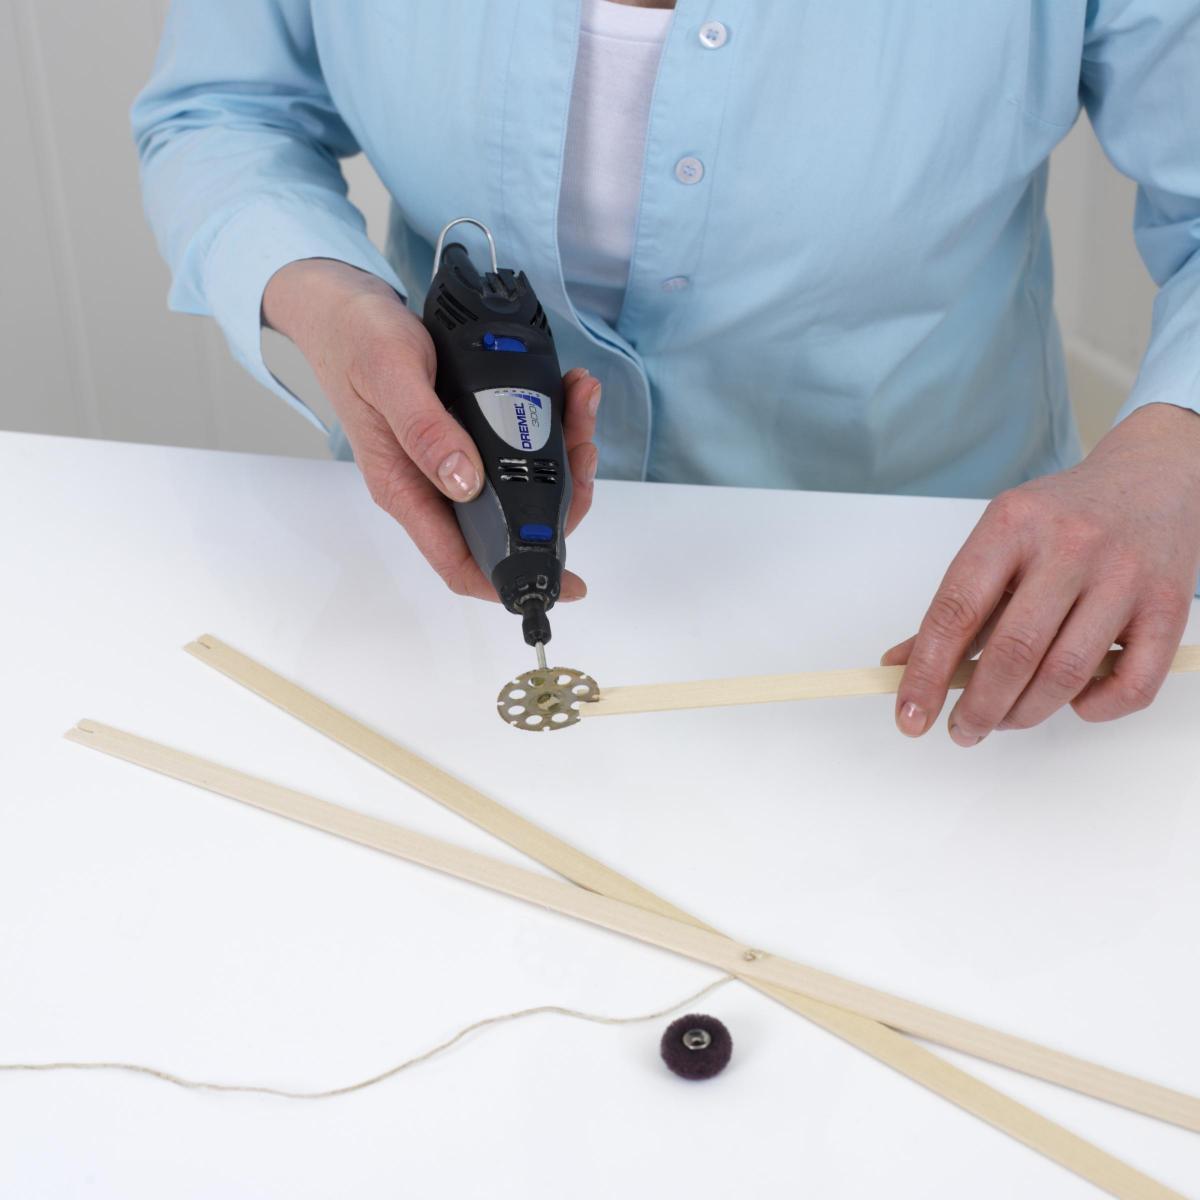
Step One : Creating the Frame
Use the Dremel 300 Series fitted with the SpeedClic Mandrel SC402 and the SpeedClic Wood Cutting Wheel SC544 to cut the basswood strip into three 61cm lengths. Use the same cutting blade to cut a 1cm long slot centrally at each end of the strips. Smooth the ends of the strips and the slots using the SpeedClic Fine Abrasive Buff. Stack the three strips together and mark the centre point on the uppermost strip.
Fit the Dremel Multi-Chuck 4486 and a Dremel Precision Drill Bit 628, slightly larger than the diameter of the parcel string, into the Dremel 300 Series. Holding the three strips together, drill a hole through all three strips at the point marked. Thread the end of a 61cm long piece of parcel string through the holes drilled in the stack of strips and knot it securely on the underside.
Spread the strips apart to create the struts, spacing them equally. Wrap a continuous length of parcel string through the slots and around the struts to make a hexagonal-shaped frame to cover with the Mulberry paper. Knot the ends of the string together securely to complete the frame.
Step Two : Making the Bridle to Help Hold the Kite
To make the bridle to help hold the kite when it’s in the air, use the Dremel 300 Series with Multi-Chuck and Precision Drill Bit to drill a small hole approximately half a centimetre in from the end of the slot in two adjacent struts.
Cut a 122cm length of parcel string and fold it in half, then loop it through the plastic ring. Thread the ends through the holes drilled, forming knots on the underside, then tie the loose end of the centre string firmly onto the plastic ring. This will create a three-legged bridle.
To make a loop for tying the tail to, drill two more holes in the opposite ends of the same struts and thread the ends of a 61cm length of string through them knotting them on the underside as before.
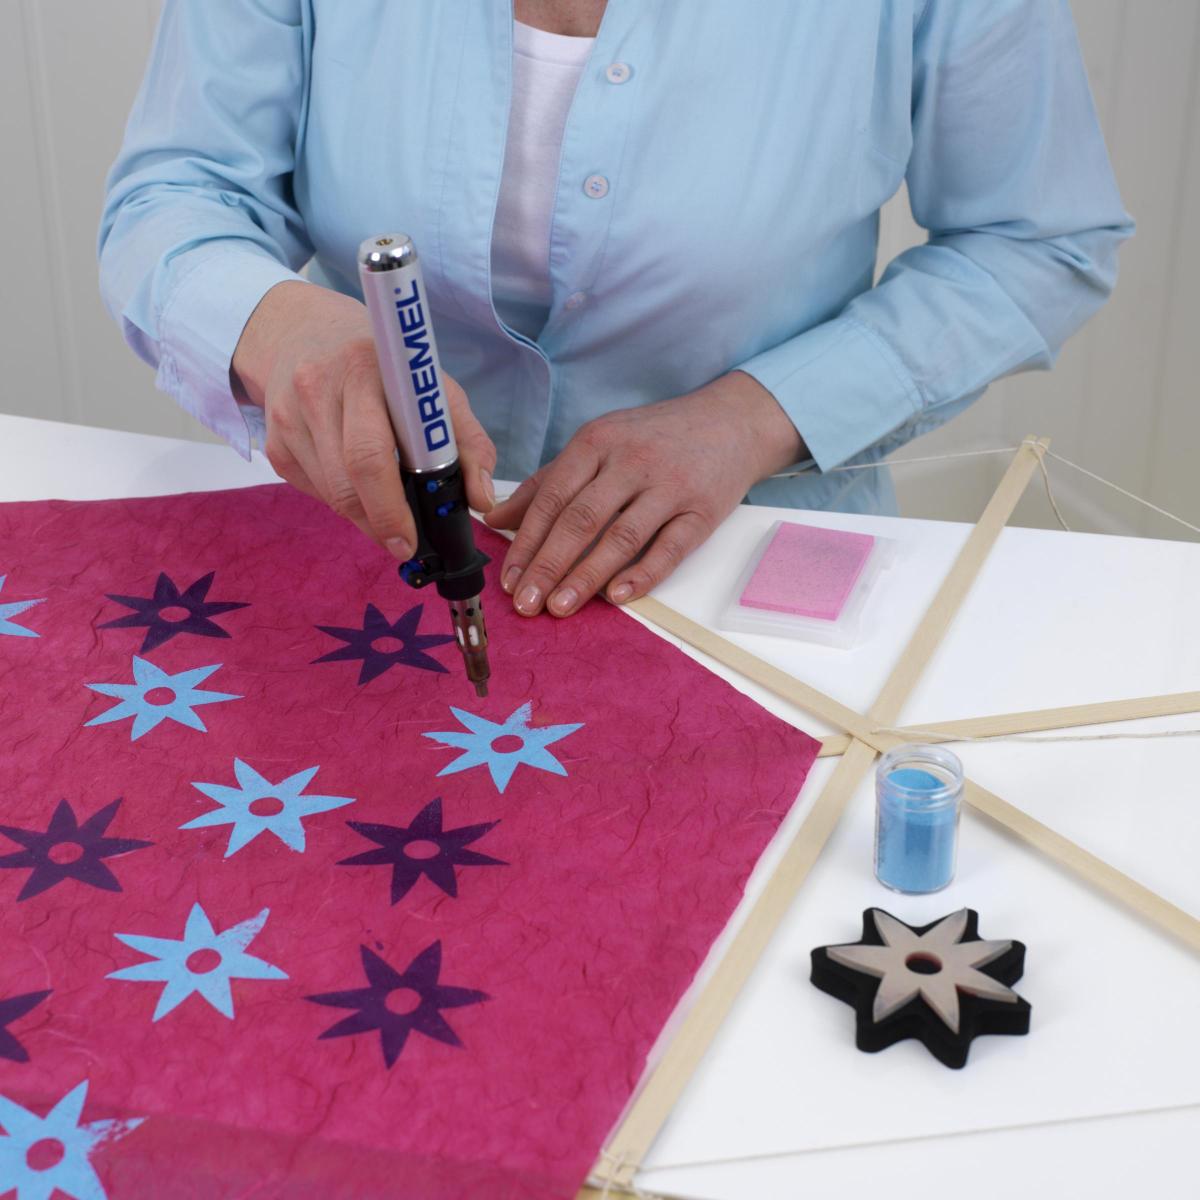
Step Three : Decorating the face of the kite
Lay the frame down on the mulberry paper and mark around the outside of the string frame with a pencil. Cut it out approximately 12mm beyond the line marked.
Stamp motifs on one side of the paper using embossing fluid, then sprinkle them with embossing powder. Shake off the excess powder, then fuse it using the Dremel Versatip fitted with the hot blower head.
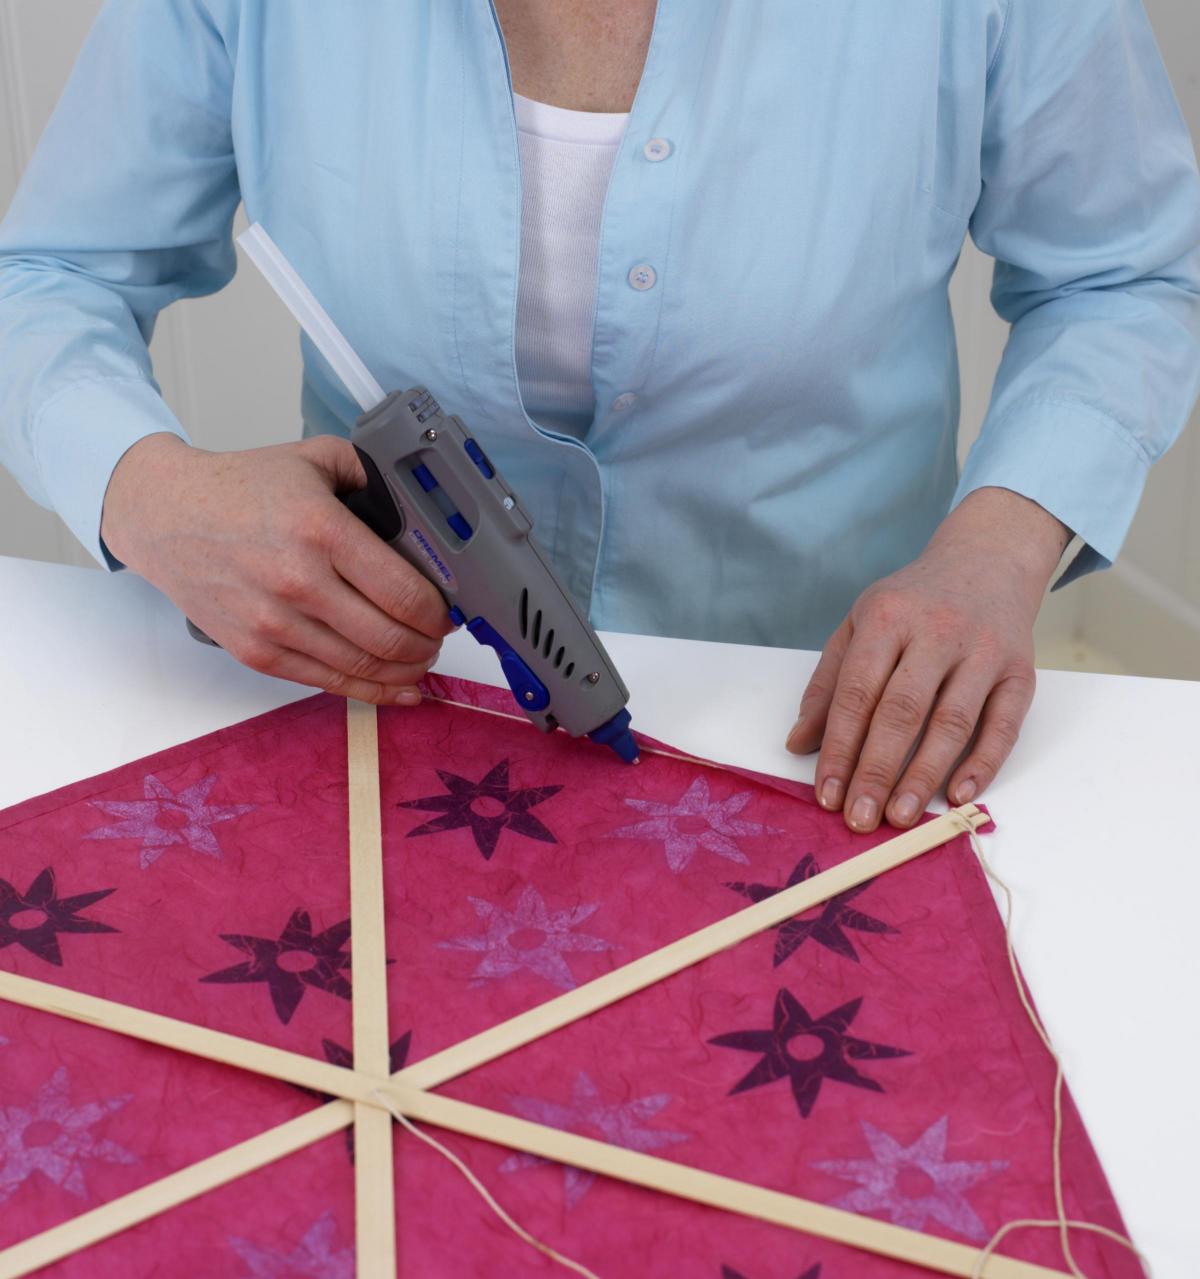
Step Four : Attaching the Face of the Kite to the Frame
Lay the decorated paper face down and reposition the frame on top. Make angled cuts in towards each strut so that the paper can be folded in over the string frame.
Use the Dremel Glue Gun 930 and 7mm clear glue stick to apply a line of glue inside the string in-between each strut. Fold the paper in to cover the string and strengthen the edge of the frame. Work on opposite sides each time to ensure the covering remains centred.
Finish by gluing the paper around the tip of each strut. Secure the struts by applying a little glue in-between each one at the central point, then secure the covering to the frame with a dab of glue halfway along each strut.
Step Five : Making the Tail and Attaching the Handle to Steer the Kite
Make a tail for the kite by cutting Mulberry and crepe paper into strips approximately 3 x 14 cm. Twist the paper strips in the centre and use the Dremel Glue Gun 930 to glue them onto a 3m length of parcel string, spacing them approximately 6cm apart.
Tie the tail onto the lower loop on the frame. Tie a kite line with a handle to steer the kite when it’s in the air onto the plastic ring of the bridle, or tie on a long length of nylon cord with a length of dowel for a handle, then you are ready to go and fly your kite with your family!


Comments: Our rules
We want our comments to be a lively and valuable part of our community - a place where readers can debate and engage with the most important local issues. The ability to comment on our stories is a privilege, not a right, however, and that privilege may be withdrawn if it is abused or misused.
Please report any comments that break our rules.
Read the rules here